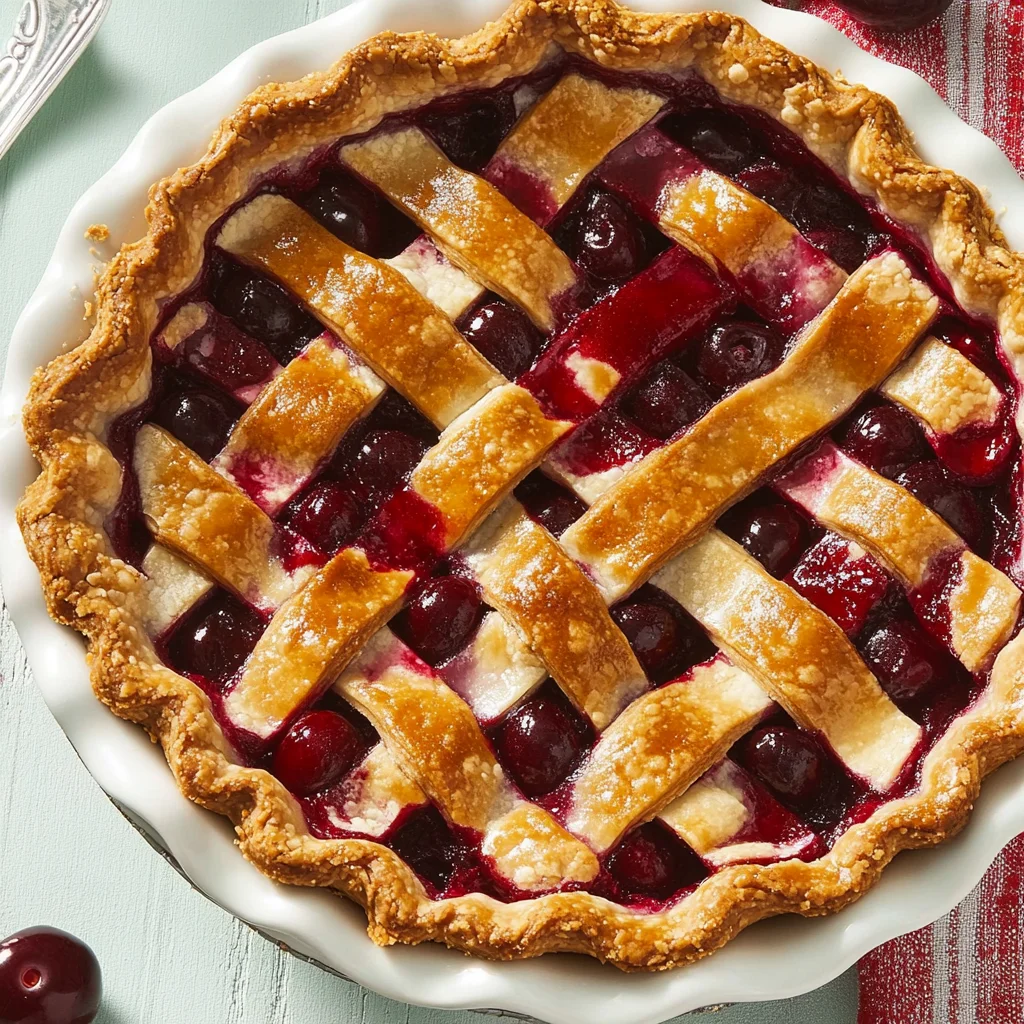
Once the summer months roll in, there’s nothing quite like enjoying a slice of Homemade Cherry Pie. This classic dessert is perfect for family gatherings, picnics, or any special occasion. With its flaky crust and sweet-tart filling, it brings joy to every bite. Whether you’re a seasoned baker or a novice in the kitchen, this recipe is straightforward and guarantees delicious results.
Why You’ll Love This Recipe
- Easy to Follow: The step-by-step instructions make it accessible for bakers of all levels.
- Fresh Ingredients: Using fresh or frozen tart cherries enhances the flavor and quality.
- Customizable Crust: You can create a lattice top or simply cover it with dough—your choice!
- Flavorful Spices: The addition of cinnamon and nutmeg gives it a warm, inviting aroma.
- Perfect for Any Occasion: Serve it at holidays, summer barbecues, or just because!
Tools and Preparation
Before diving into the baking process, gathering your tools will make things simpler. Having everything ready allows you to focus on creating your homemade cherry pie.
Essential Tools and Equipment
- Pie plate
- Large saucepan
- Mixing bowl
- Whisk
- Rolling pin
- Pastry cutter (optional)
- Cooling rack
Importance of Each Tool
- Pie plate: This holds the pie while baking and makes serving easier.
- Mixing bowl: Essential for combining ingredients smoothly without mess.
- Rolling pin: Helps roll out the dough evenly for a perfect crust.
- Cooling rack: Allows air circulation around the pie, preventing soggy bottoms.
Ingredients
Once these ruby-red stone fruits start popping up at farmers markets, it’s time to break out our recipe for homemade cherry pie.
Ingredients:
– 1-1/4 cups sugar
– 1/3 cup cornstarch
– 1 cup cherry juice blend
– 4 cups fresh or frozen pitted tart cherries, thawed
– 1/2 teaspoon ground cinnamon
– 1/4 teaspoon ground nutmeg
– 1/4 teaspoon almond extract
For the Dough:
- 2 cups all-purpose flour
- 1/2 teaspoon salt
- 2/3 cup shortening
- 5 to 7 tablespoons cold water
- 1 large egg, beaten (optional)
How to Make Homemade Cherry Pie
Step 1: Preheat the Oven
Preheat the oven to 425°F. In a large saucepan, combine the sugar and cornstarch. Gradually stir in the cherry juice blend until smooth. Bring this mixture to a boil while stirring continuously until thickened, about two minutes. Remove from heat.
Step 2: Prepare the Filling
Add in the cherries, cinnamon, nutmeg, and almond extract. Stir everything together until well combined.
Step 3: Make the Pie Dough
In a large bowl, whisk together all-purpose flour and salt. Cut in the shortening until crumbly. Gradually add cold water one tablespoon at a time, tossing with a fork until a ball forms. Divide the dough into two balls.
Step 4: Roll Out Dough
On a lightly floured surface, roll out the larger dough ball to fit a 9-inch pie plate. Transfer this dough into the plate and trim it evenly along the edge. Pour in your cherry filling.
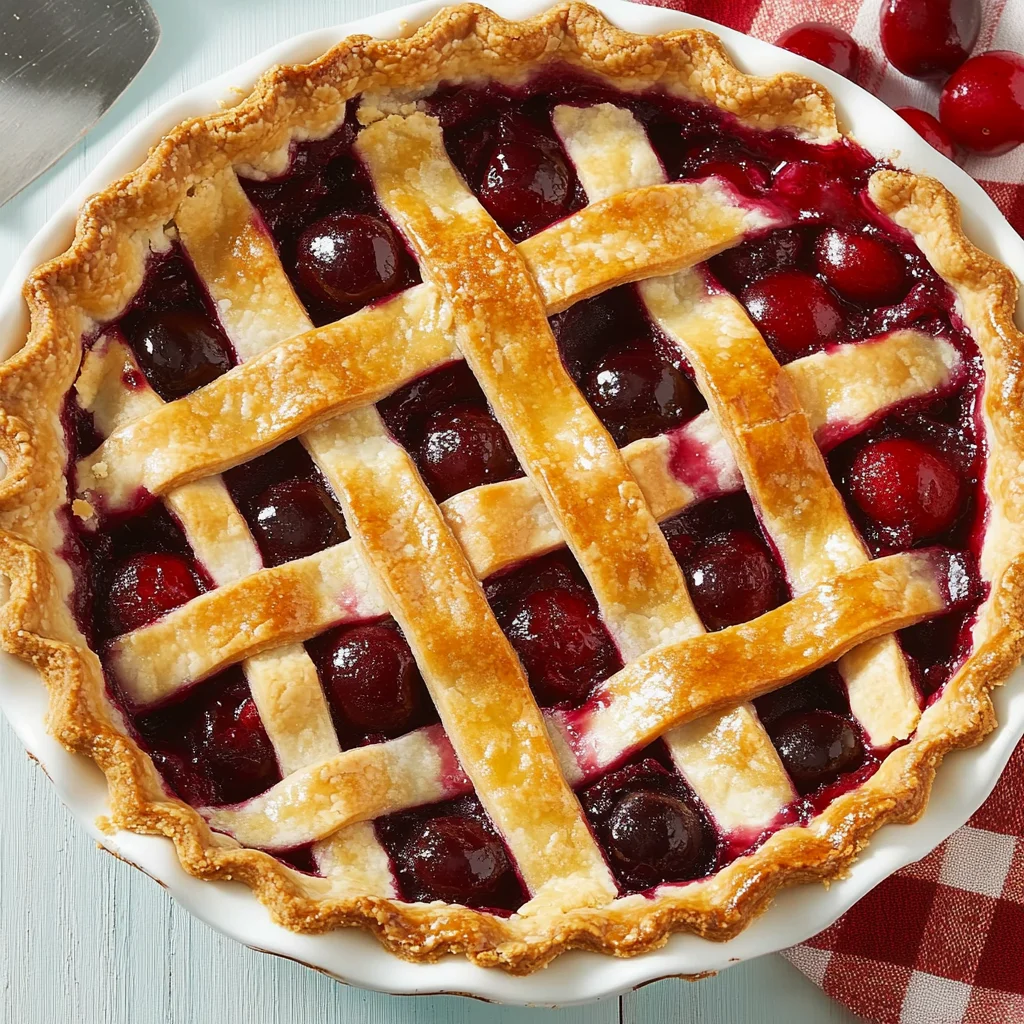
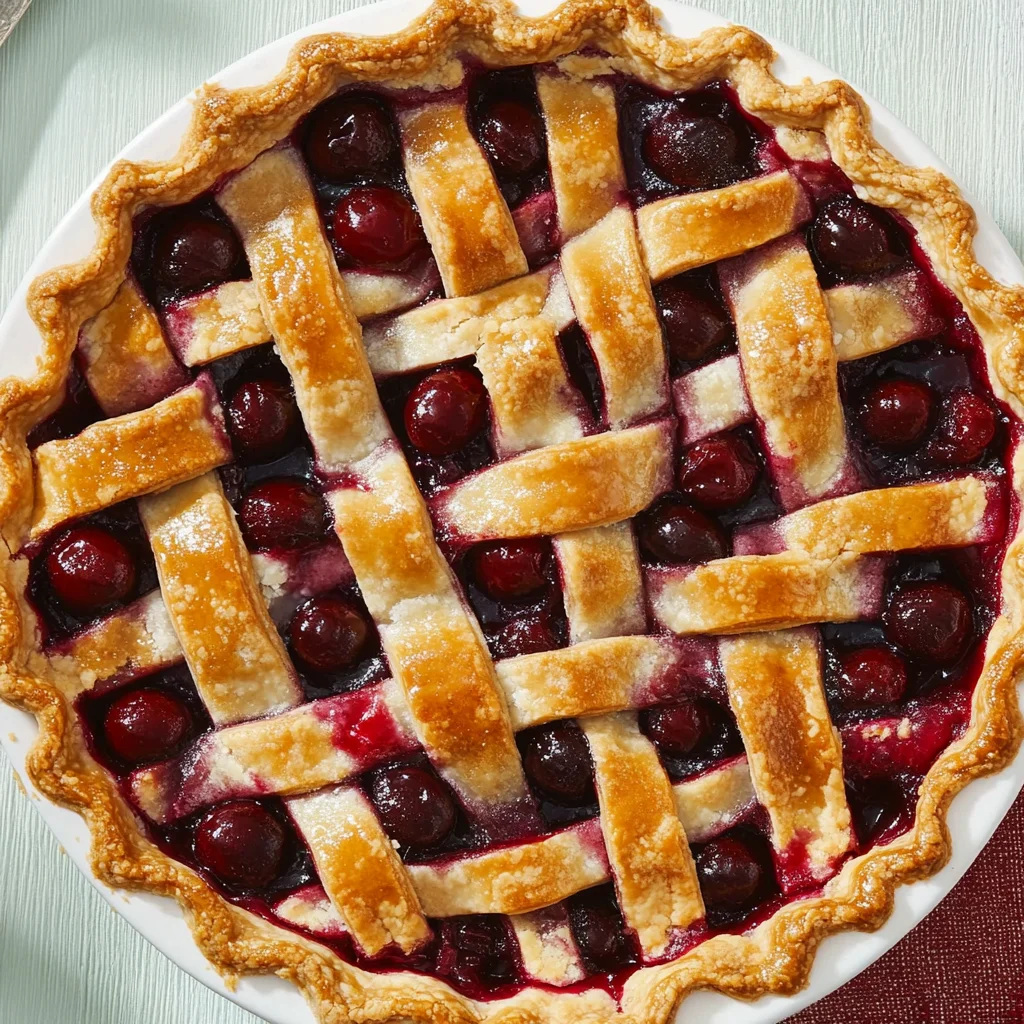
Step 5: Create Lattice Crust
Roll out the remaining dough to create strips for a lattice top if desired. Seal and flute edges before brushing with an egg wash if using. Use a pastry cutter to cut strips about half an inch wide. Arrange half of these strips parallel on top of your filling; fold back every other strip to place another perpendicular strip across them. Repeat this alternating process.
Step 6: Bake
Bake in preheated oven for 10 minutes then reduce heat to 375°F without opening the door. Bake until crust is golden brown—about 45 to 50 minutes total. Cool on a wire rack before serving.
Enjoy your delicious homemade cherry pie!
How to Serve Homemade Cherry Pie
Homemade cherry pie is a delightful dessert that can be enjoyed in various ways. Whether you’re serving it at a gathering or enjoying it on a cozy evening, these serving suggestions will elevate your cherry pie experience.
A La Mode
- Serve with a scoop of vanilla ice cream on top for a creamy contrast to the tart cherries.
Whipped Cream
- Top slices with freshly whipped cream for a light and airy finish that complements the flavors.
Fresh Cherries
- Garnish with fresh cherries to enhance the visual appeal and add an extra burst of flavor.
Chocolate Drizzle
- Drizzle melted chocolate over the pie for an indulgent touch that pairs well with the fruitiness.
Coffee Pairing
- Enjoy with a warm cup of coffee to balance the sweetness and create a comforting dessert experience.
Cheese Plate
- Serve alongside cheese, such as sharp cheddar, which contrasts beautifully with the sweetness of the cherry pie.
How to Perfect Homemade Cherry Pie
Making homemade cherry pie can be simple, but these tips can help you achieve perfection every time.
- Choose Fresh Cherries: Use ripe, fresh tart cherries for the best flavor. Frozen cherries work too, but ensure they are well-thawed and drained.
- Thicken Wisely: Adjust the cornstarch based on how juicy your cherries are. If they’re more watery, increase the amount slightly to prevent a runny filling.
- Chill Your Dough: Refrigerate your pie dough before rolling it out. This makes it easier to handle and results in a flakier crust.
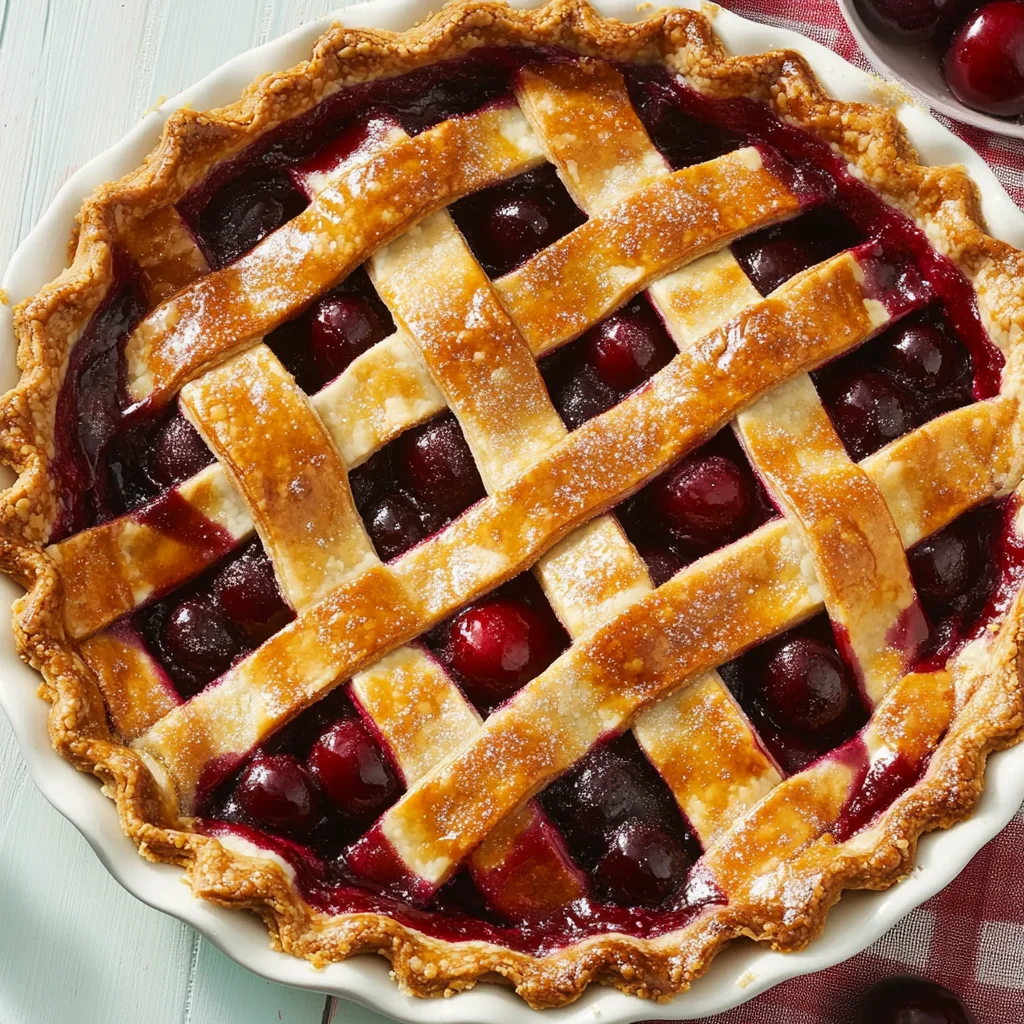
- Egg Wash for Shine: Brush the top crust with an egg wash before baking. This gives it a beautiful golden color and adds shine.
- Use a Baking Sheet: Place a baking sheet under your pie while baking. It catches any drips from bubbling fruit filling, making clean-up easier.
- Cool Before Slicing: Allow your cherry pie to cool completely before slicing. This helps the filling set up nicely and prevents messes when serving.
Best Side Dishes for Homemade Cherry Pie
Pairing your homemade cherry pie with complementary side dishes can enhance its flavors and make for a complete meal. Here are some great options:
- Vanilla Ice Cream: A classic pairing that adds creaminess to each bite of tart cherry goodness.
- Fresh Fruit Salad: A refreshing mix of seasonal fruits balances the sweetness of the pie, providing a light contrast.
- Cheese Platter: Include aged cheeses like Gouda or Brie for a savory complement that works well with sweet desserts.
- Coffee Cake: This rich cake serves as a great breakfast option alongside cherry pie, perfect for brunch gatherings.
- Pecan Pie Bars: These bars introduce nutty flavors and chewy textures that create an interesting contrast to the soft filling of cherry pie.
- Lemon Sorbet: The zesty acidity cuts through the sweetness of the pie, offering a refreshing palate cleanser after each bite.
Common Mistakes to Avoid
Making a homemade cherry pie can be a delightful experience, but it’s easy to run into some common pitfalls. Here are mistakes to watch out for:
- Using the wrong type of cherries: Ensure you use tart cherries for the best flavor. Sweet cherries will make your pie overly sweet and unbalanced.
- Not thickening the filling properly: If you skip the cornstarch, your pie may turn out runny. Always mix cornstarch with sugar before adding liquid to ensure it thickens well.
- Skipping the egg wash: An egg wash gives your crust a beautiful golden color and shiny finish. Don’t skip this step if you want an appealing look.
- Overworking the dough: If you knead the dough too much, it can become tough. Handle it gently and just until combined for a flaky crust.
- Not cooling before serving: Cutting into the pie immediately can result in a messy slice. Allow it to cool on a wire rack for at least an hour to set properly.
Storage & Reheating Instructions
Refrigerator Storage
- Store your homemade cherry pie in an airtight container.
- It can be kept in the fridge for up to 4 days, maintaining its flavor and texture.
Freezing Homemade Cherry Pie
- Wrap the pie tightly in plastic wrap or aluminum foil.
- You can freeze it for up to 3 months. Make sure to label it with the date.
Reheating Homemade Cherry Pie
- Oven: Preheat your oven to 350°F, cover with foil, and bake for about 15-20 minutes until warmed through.
- Microwave: Heat individual slices on medium power for about 30-45 seconds. Be cautious as this may make the crust chewy.
- Stovetop: Place slices in a skillet over low heat, cover with a lid, and warm for about 5-10 minutes to retain crispiness.
Frequently Asked Questions
How do I know when my Homemade Cherry Pie is done?
Your pie is ready when the crust is golden brown and juices are bubbling through the lattice or slits in the top.
Can I use frozen cherries for Homemade Cherry Pie?
Yes! Frozen pitted tart cherries work well. Just remember to thaw them first and drain excess liquid.
What can I serve with Homemade Cherry Pie?
Homemade cherry pie pairs wonderfully with vanilla ice cream or whipped cream for added richness.
Can I make Homemade Cherry Pie ahead of time?
Absolutely! You can prepare it a day in advance or freeze it for later. Just reheat before serving for best results.
What is the best way to cut my Homemade Cherry Pie?
Use a sharp knife and let it cool completely before cutting. This helps maintain clean slices without spilling filling everywhere.
Final Thoughts
This homemade cherry pie recipe is not just delicious; it’s versatile too! You can adjust spices or even add other fruits like blueberries or raspberries for variety. Enjoy making this delightful dessert that will surely impress family and friends—give it a try!

Homemade Cherry Pie
Indulge in the timeless delight of homemade cherry pie, a classic summer dessert that’s perfect for any occasion. With its flaky crust and a luscious filling made from ripe tart cherries, this pie captures the essence of summer in every bite. Whether you’re hosting a family gathering or simply treating yourself, this straightforward recipe ensures you’ll achieve delicious results, even if you’re new to baking. Serve it warm with a scoop of vanilla ice cream or topped with fresh whipped cream for an unforgettable experience.
- Total Time: 1 hour 30 minutes
- Yield: Serves approximately 8
Ingredients
- 4 cups fresh or frozen pitted tart cherries
- 1–1/4 cups sugar
- 1/3 cup cornstarch
- 1 cup cherry juice blend
- 1/2 teaspoon ground cinnamon
- 1/4 teaspoon ground nutmeg
- 2 cups all-purpose flour (for the crust)
- 2/3 cup shortening
Instructions
- Preheat your oven to 425°F.
- In a large saucepan, mix sugar and cornstarch; gradually stir in cherry juice blend until smooth. Heat until thickened, about 2 minutes, then remove from heat.
- Stir in cherries, cinnamon, nutmeg, and almond extract.
- For the dough, whisk flour and salt; cut in shortening until crumbly. Gradually add cold water until a ball forms.
- Roll out half the dough for the bottom crust and place it in a pie plate; pour in cherry filling.
- Roll out remaining dough for the lattice top (optional), seal edges, and brush with egg wash if desired.
- Bake for 10 minutes at 425°F, then reduce heat to 375°F and bake for an additional 45-50 minutes until golden brown.
- Prep Time: 30 minutes
- Cook Time: 60 minutes
- Category: Dessert
- Method: Baking
- Cuisine: American
Nutrition
- Serving Size: 1 slice (125g)
- Calories: 300
- Sugar: 22g
- Sodium: 150mg
- Fat: 12g
- Saturated Fat: 5g
- Unsaturated Fat: 6g
- Trans Fat: 0g
- Carbohydrates: 45g
- Fiber: 2g
- Protein: 3g
- Cholesterol: 15mg
Keywords: Use ripe tart cherries for the best flavor; frozen cherries are also acceptable but ensure they are thawed and drained beforehand. Chill your dough before rolling to make it easier to handle and achieve a flakier crust. Brush with an egg wash for a shiny finish on your crust.