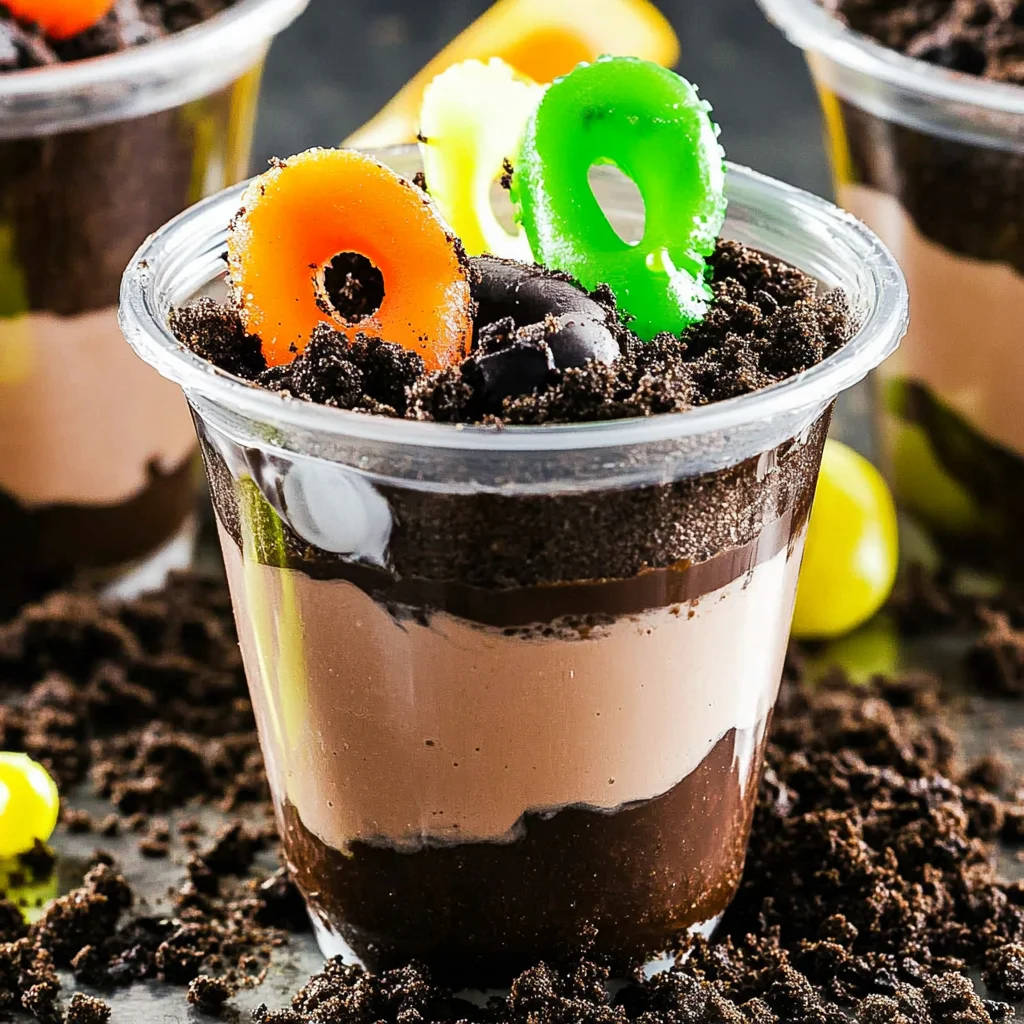
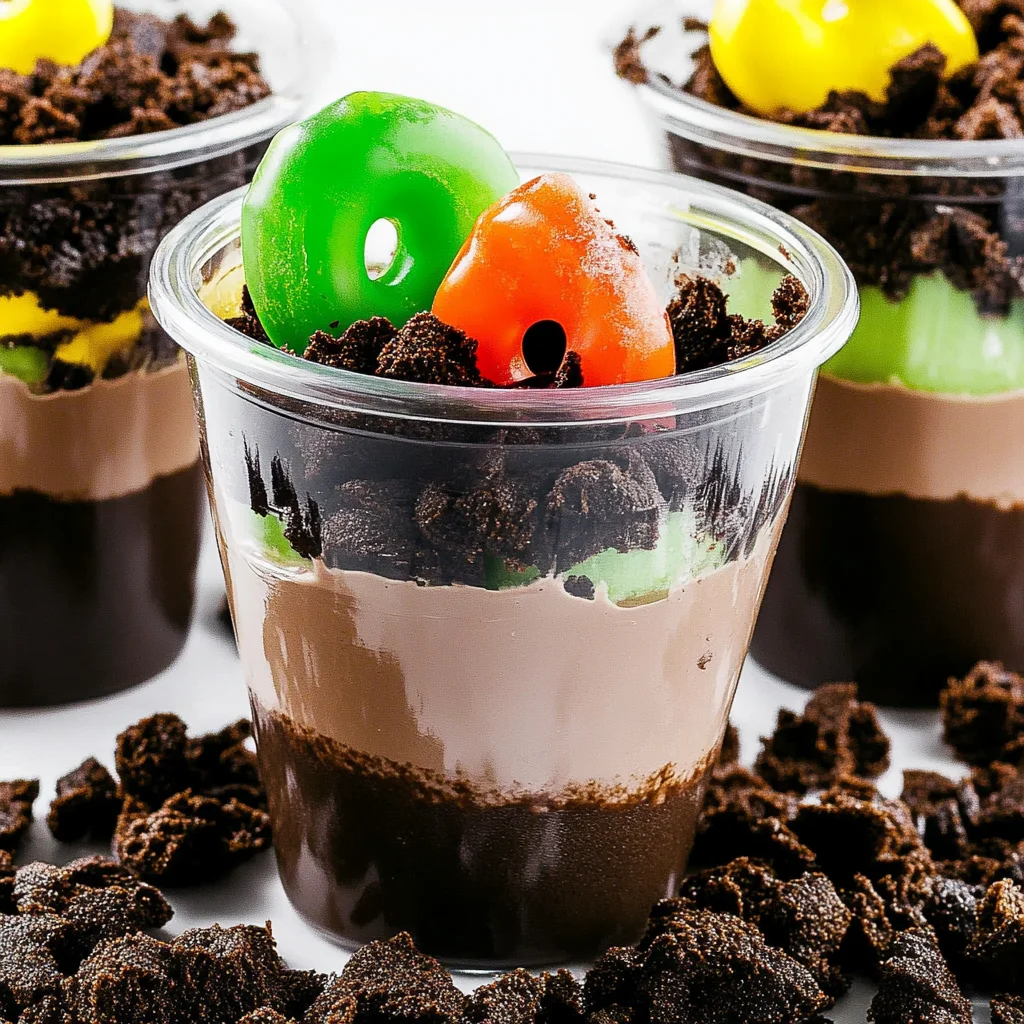
Layers of chocolate pudding, crushed Oreos topped with gummy worms! Dirt Cups are a fun and delicious treat that appeals to both kids and adults. Perfect for birthday parties, Halloween festivities, or any casual gathering, these cups are not only visually striking but also incredibly easy to make. The combination of creamy chocolate pudding, crunchy Oreos, and the whimsical touch of gummy worms makes these treats a standout dessert.
Why You’ll Love This Recipe
- Quick and Easy: You can whip up these dirt cups in just 10 minutes of prep time, making them perfect for last-minute gatherings.
- Kid-Friendly: Children love getting involved in making these fun desserts, from crushing the Oreos to placing the gummy worms.
- Customizable: Feel free to add your favorite candies or toppings! This recipe is flexible enough to suit any taste.
- Perfect for All Occasions: Whether it’s a birthday party or Halloween, dirt cups fit right in with any celebration.
- No Baking Required: Enjoy a delicious dessert without turning on the oven—just mix and chill!
Tools and Preparation
To create your delightful dirt cups, you’ll need some essential tools. Having the right equipment makes the process smoother and more enjoyable.
Essential Tools and Equipment
- Mixing bowl
- Whisk
- Measuring cups
- Glasses or cups for serving
- Spoon
Importance of Each Tool
- Mixing bowl: A sturdy mixing bowl is key for combining ingredients without spills.
- Whisk: Using a whisk helps achieve a smooth texture in the pudding mixture quickly.
- Glasses or cups for serving: Clear glasses allow you to showcase the beautiful layers of the dirt cups.
Ingredients
Here’s what you’ll need to make your delicious Dirt Cups:
Layers of chocolate pudding, crushed Oreos topped with gummy worms!
For the Pudding Mixture
- 3.4 ounces box instant chocolate pudding mix
- 2 cups milk
- 8 ounces whipped topping (thawed)
For Topping
- 10-12 Oreo cookies (crushed)
- 32 gummy worms
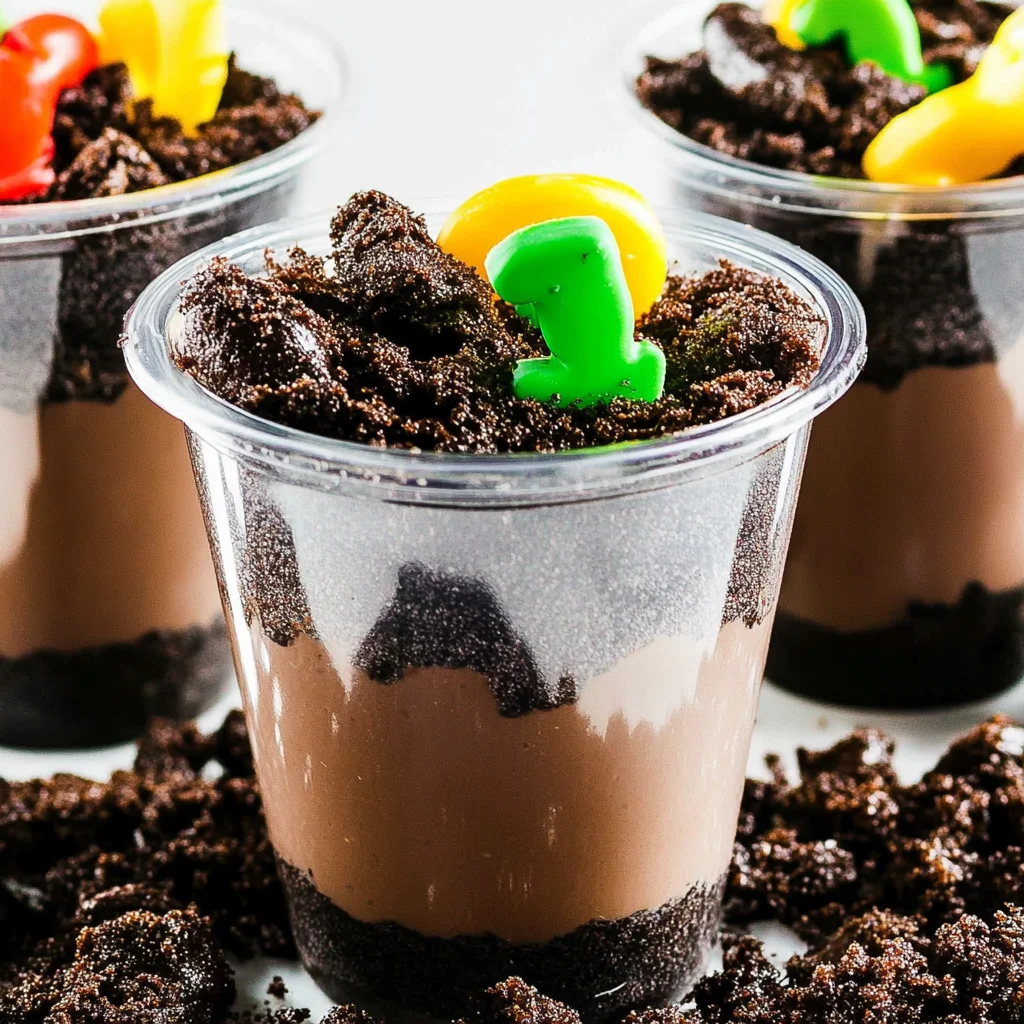
How to Make Dirt Cups
Step 1: Prepare the Pudding Mixture
In a medium bowl, add cold milk and sprinkle pudding over top. Whisk until well combined.
Step 2: Let it Thicken
Allow the mixture to sit for about 5 minutes so it can thicken properly.
Step 3: Fold in Whipped Topping
Gently fold in the whipped topping until everything is well combined. This step adds creaminess to your dirt cups.
Step 4: Spoon into Serving Cups
Spoon the pudding mixture into glasses or small cups. Aim for equal portions among servings.
Step 5: Add Oreo Crust Layer
Sprinkle crushed Oreo cookies generously on top of each cup of pudding. This layer adds crunch and flavor.
Step 6: Top with Gummy Worms
Place 4 gummy worms on top of each cup. They should look like they’re crawling out of the “dirt.”
Step 7: Chill Before Serving
Refrigerate until you’re ready to serve. Chilling helps the flavors meld together beautifully.
Enjoy your deliciously fun Dirt Cups!
How to Serve Dirt Cups
Dirt Cups are a fun and delightful dessert that can be enjoyed in various ways. Whether for a party or a casual family gathering, these playful treats can be served in multiple creative styles.
Individual Servings
- Use clear cups or jars for a layered look that showcases the pudding and crushed Oreos.
Party Platter
- Arrange multiple cups on a large platter for easy serving at parties. Add colorful decorations around the platter for visual appeal.
Themed Decor
- Create a themed dessert table by pairing Dirt Cups with Halloween decorations or nature-inspired elements, like fake grass or mini flower pots.
Kid-Friendly Stations
- Set up a DIY station where kids can create their own Dirt Cups by adding their favorite toppings, such as gummy worms, sprinkles, or fruit.
Mini Versions
- Serve smaller portions in shot glasses for an elegant touch at adult gatherings. This allows guests to indulge without feeling too full.
Seasonal Twists
- Adjust toppings based on the season; use candy pumpkins in fall or edible flowers in spring for a fresh twist on this classic dessert.
How to Perfect Dirt Cups
To make your Dirt Cups even more delightful, consider these helpful tips:
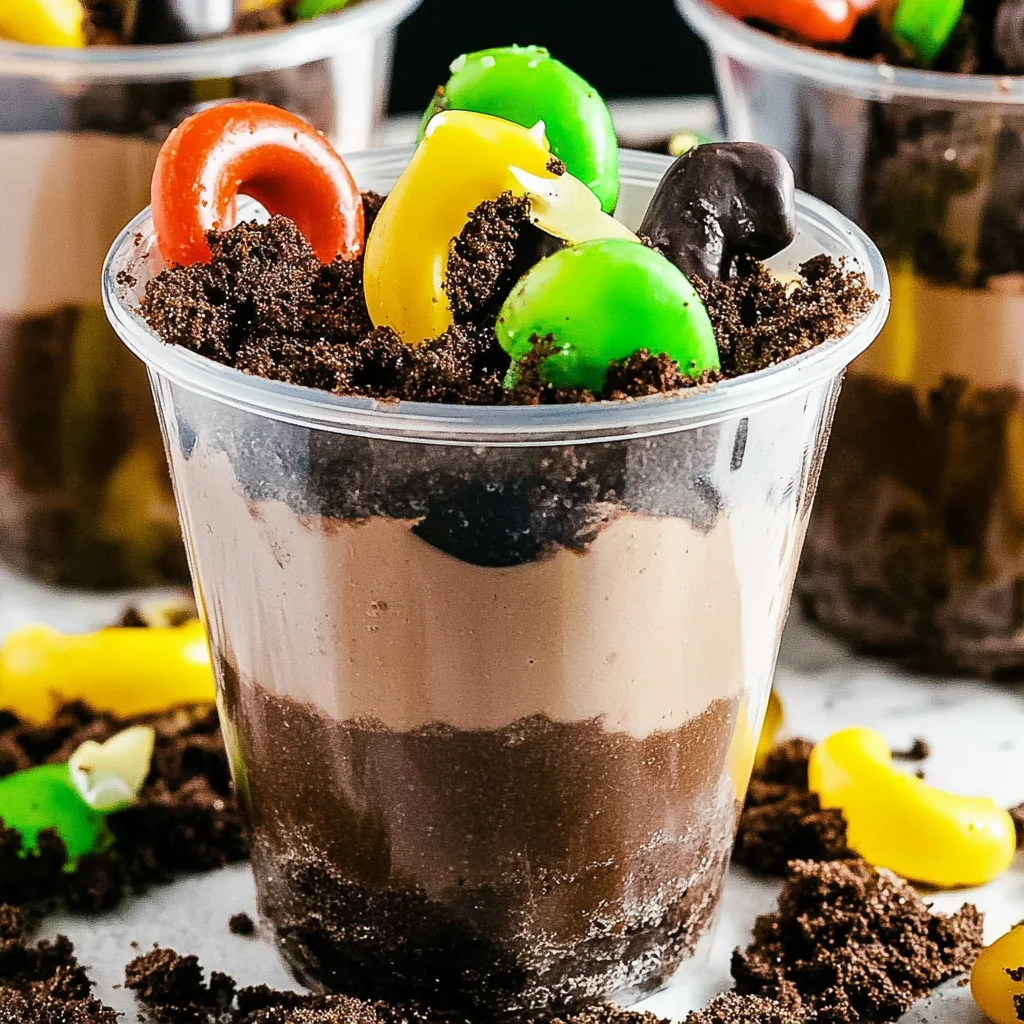
- Choose quality ingredients: Using high-quality chocolate pudding and fresh whipped topping will enhance the flavor and texture of your Dirt Cups.
- Chill before serving: Letting the cups chill in the refrigerator allows the flavors to meld together and improves the overall experience.
- Layer creatively: Instead of just topping with crushed Oreos, consider alternating layers of different textures to make each bite interesting.
- Add surprise elements: Include hidden surprises like mini chocolate chips or other candies within the layers for an unexpected treat.
- Customize for dietary needs: Consider using dairy-free pudding or gluten-free cookies if you have guests with dietary restrictions.
Best Side Dishes for Dirt Cups
Pairing side dishes with your Dirt Cups can elevate your dessert experience. Here are some tasty options to complement your sweet treat:
- Fruit Salad: A light and refreshing fruit salad adds a healthy balance to the rich, chocolaty flavor of Dirt Cups.
- Veggie Platter: Crunchy vegetables with dip provide a savory contrast that works well alongside sweet desserts.
- Cheese Board: A variety of cheeses offers different flavors that can complement the sweetness of your Dirt Cups perfectly.
- Chocolate-Covered Pretzels: These provide a salty-sweet snack that pairs nicely with the creamy texture of Dirt Cups.
- Mini Sandwiches: Light finger sandwiches filled with ham, cheese, or veggies can be a great addition to any dessert spread.
- Popcorn Bar: Offer various popcorn flavors such as caramel, cheese, and buttered popcorn for an enjoyable snack option alongside your dessert.
Common Mistakes to Avoid
Creating Dirt Cups can be fun and easy, but there are common mistakes that can affect the final product. Here are some to watch out for:
- Ignoring the pudding instructions: Always follow the package instructions for the pudding mix. Skipping steps or altering the proportions can lead to a runny texture.
- Using warm milk: Be sure to use cold milk when preparing the pudding. Warm milk may not allow the pudding to set properly.
- Not chilling before serving: Letting your Dirt Cups chill is essential for flavor and texture. Serve them too soon, and they may not be as enjoyable.
- Overmixing the whipped topping: Gently fold in the whipped topping until just combined. Overmixing can cause it to lose its light, airy texture.
- Skipping the gummy worms: Don’t forget to add gummy worms on top! They are a key element of Dirt Cups that make them fun and visually appealing.
Storage & Reheating Instructions
Refrigerator Storage
- Duration: Store your Dirt Cups in the refrigerator for up to 3 days.
- Containers: Use airtight containers or cover individual cups with plastic wrap to prevent drying out.
Freezing Dirt Cups
- Duration: You can freeze Dirt Cups for up to 1 month.
- Containers: Place them in freezer-safe containers or wrap tightly in plastic wrap and aluminum foil.
Reheating Dirt Cups
- Oven: Not recommended for these desserts as heating may ruin their texture.
- Microwave: If you need to warm them slightly, use a microwave-safe container and heat in short intervals. Be careful not to overheat.
- Stovetop: Avoid reheating on the stovetop, as this could alter their consistency.
Frequently Asked Questions
What are Dirt Cups?
Dirt Cups are a fun dessert made with layers of chocolate pudding, crushed Oreos, and gummy worms. They are especially popular for kids’ parties or Halloween celebrations.
Can I customize my Dirt Cups?
Absolutely! You can customize your Dirt Cups by adding different toppings like sprinkles, fruit, or even changing the type of cookies used.
How long do Dirt Cups last?
When stored correctly in the refrigerator, Dirt Cups can last up to 3 days. If frozen, they will keep well for about 1 month.
Are there vegan options for Dirt Cups?
Yes! You can create vegan Dirt Cups by using plant-based milk and vegan whipped topping. Just ensure all ingredients meet your dietary needs.
Can I make these ahead of time?
Yes! Making Dirt Cups ahead of time is a great idea. They taste better after chilling in the fridge for a few hours or overnight.
Final Thoughts
These delightful Dirt Cups are not only easy to make but also offer endless possibilities for customization. Whether you’re throwing a party or simply want a treat, this recipe is sure to impress both kids and adults alike. So grab your ingredients and get ready to enjoy this fun dessert!
Dirt Cups
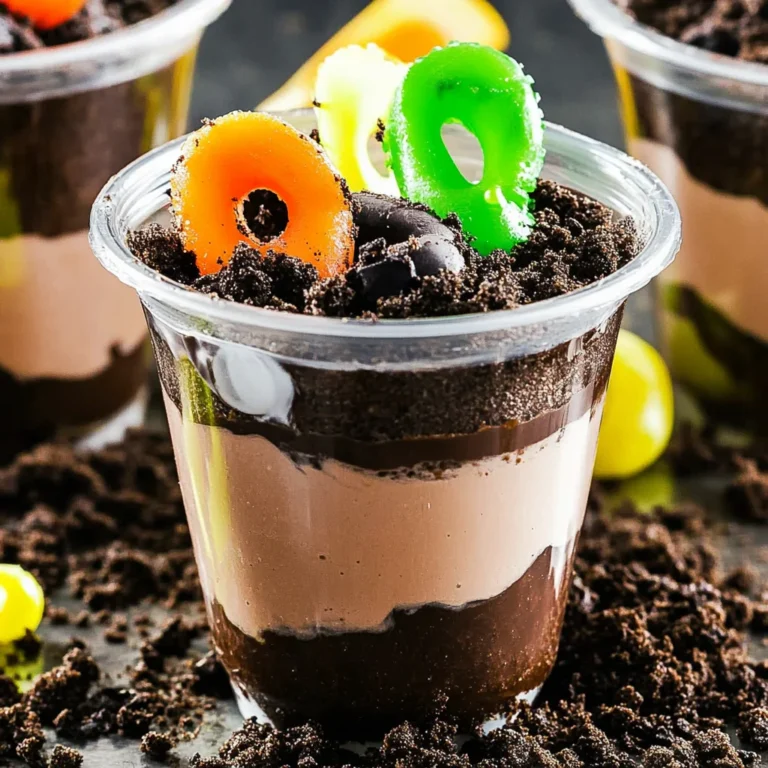
Indulge in the whimsical delight of Dirt Cups, a playful and delicious dessert that brings joy to both kids and adults. These charming treats feature layers of rich chocolate pudding, crunchy crushed Oreos, and colorful gummy worms that create a fun visual and taste experience. Perfect for birthday parties, Halloween celebrations, or any casual gathering, Dirt Cups are not only visually striking but also incredibly easy to prepare. With just a few simple ingredients and no baking required, you can whip up this delightful treat in no time. Let your creativity shine as you customize them with your favorite candies or toppings for an unforgettable dessert that’s sure to impress.
- Total Time: 39 minute
- Yield: Serves approximately 4 cups 1x
Ingredients
- 3.4 ounces instant chocolate pudding mix
- 2 cups cold milk
- 8 ounces whipped topping (thawed)
- 10–12 Oreo cookies (crushed)
- 32 gummy worms
Instructions
- In a medium mixing bowl, combine cold milk and pudding mix. Whisk until smooth.
- Allow the mixture to thicken for about 5 minutes.
- Gently fold in the thawed whipped topping until well blended.
- Spoon the pudding mixture into serving cups evenly.
- Generously sprinkle crushed Oreos on top of each cup.
- Garnish with gummy worms, placing them on top as if they are crawling out of the dirt.
- Refrigerate until ready to serve for enhanced flavor.
- Prep Time: 10 minutes
- Cook Time: None
- Category: Dessert
- Method: No baking
- Cuisine: American
Nutrition
- Serving Size: 1 serving
- Calories: 290
- Sugar: 24g
- Sodium: 220mg
- Fat: 14g
- Saturated Fat: 7g
- Unsaturated Fat: 6g
- Trans Fat: 0g
- Carbohydrates: 36g
- Fiber: 1g
- Protein: 3g
- Cholesterol: 15mg
Keywords: Use high-quality ingredients for better flavor. Consider adding mini chocolate chips between layers for an unexpected treat. Customize toppings based on seasonal themes or dietary preferences.

